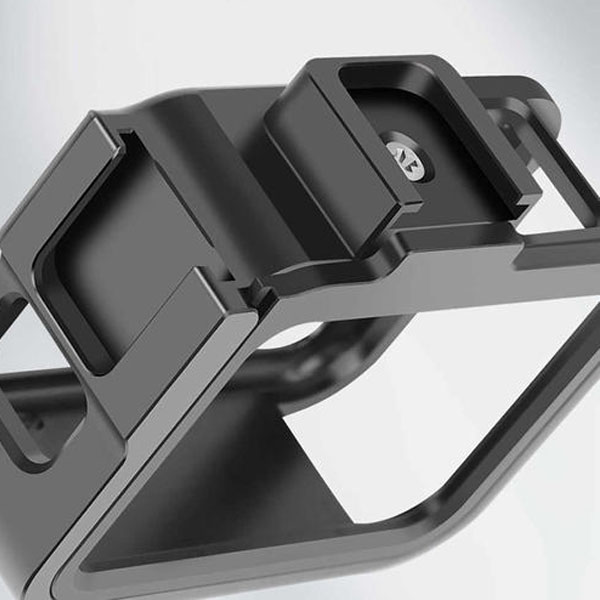
With the development of lightweight cars and airplanes, the lightweight and wear-resistant characteristics of aluminum alloy shell parts have been fully utilized. L168, 6061, 2024 and other grades of aluminum alloy parts are often formed by cold working in the early stage and surface treatment in the later stage to achieve good corrosion resistance and wear resistance. Therefore, they are used in parts of Airbus, Boeing and various passenger aircraft in China widely used.
The difficulty in processing porous thin-walled parts is that the thinnest part of the wall is only 3mm, and the hole tolerance is within 0.01mm, and part of the inner hole tolerance is ±0.004mm. The processing of such parts should start from the aspects of raw materials, blanks, and processing technology, and optimize and perfect the processing technology, tooling and fixtures according to the particularity of the parts.
The processing of thin-walled porous parts can follow the general processing rules of shell parts. Namely rough machining, semi-finish machining and finishing. Among them, the final requirements can be achieved through finishing processes such as grinding, grinding, and fine boring according to the specific appearance, shape and size tolerance requirements of the parts during finishing.

1. In the rough machining process, the wall thickness and depth dimensions need to reserve 3mm for semi-finish machining, and 0.5mm machining allowance for precision hole size. At the same time, the process positioning holes for later processing must be done well. Use process positioning holes with pins for post-processing of parts. The process hole is recommended to be made at an angle of 60° between the two walls of the part to ensure uniform force and dimensional stability during the later processing. If it is not possible to process both sides at the same time due to equipment conditions, it is necessary to add two process holes and two positioning holes on each side to increase the stability of the parts in the later finishing stage.
2. In the semi-finishing stage, all dimensions with tolerances greater than 0.01mm can be processed in place, including the wall thickness of parts, cavity and some other dimensions with tolerances greater than ±0.1mm. In order to save processing time, 0.5mm can be reserved for all finishing hole sizes, which can be processed during finishing. The parts need to undergo aging treatment within 4 hours after the semi-finish machining is completed to remove the stress, because the parts will release a large amount of stress after a large amount of cutting and cause the parts to deform.
3. According to the different materials of the parts and the size of the parts, choose a reasonable stress-relieving temperature and time to effectively remove the mechanical stress of the parts and provide effective guarantee for the later finishing. In order to ensure the efficiency and stability of finishing, after the semi-finishing is completed, a single grinding process can be performed on the two faces of the part to ensure that the overall flatness of the two faces is within 0.01mm.
4. In the finishing stage, the processing method can be selected according to the conditions of the own equipment. When conditions permit, choose to use the hot mount shank to clamp the boring tool. According to the requirements of the drawing, the position of the four holes must be guaranteed within 0.025mm, so after processing a surface, two holes in this surface should be used as positioning holes instead of the process reserved for rough machining Hole positioning can effectively ensure the 0.025 hole position.
5. The four-axis machining center can directly process two surfaces, but
a set of flat fixtures is needed for support. In order to avoid the deformation
of the parts during clamping and processing, the flat clamp needs to be simply
heat treated, HRC ≥ 35, and the flatness of the clamping surface is within
0.01mm. After the plate clamp is installed, straighten it and adjust it to
within 0.01mm.
6. Since porous thin-walled parts are difficult to process and have very strict tolerance requirements, higher requirements are placed on the processing environment. Since the parts are made of aluminum alloy, the overall processing cycle of the parts is long, so the coolant on the surface of the parts must be cleaned after the parts are processed, and the weather rust-proof bag must be used for protection during the turnover and waiting for processing.
Get your CNC machining projects started today
When you send out 3D CAD documents to us, JY Machinery will provide you with instant price, on-demand delivery time, as well as design for manufacturability comments for your customized CNC machining components on materials and also producing process, to make sure that the component can meet your expectations as well as budget plan demands.
Get in touch with us today for a free quote!
Skype: Chat on Skype
Email: info@jycncmachining.com
Phone: +86 15905915652